Modeling
I did all the modeling on a custom-built Pentium 200 with 128mb RAM and a Diamond FireGL 1000 Pro video card. All objects were built with polygon modeling, with the exception of the couch cushions which started out as NURBS objects. Using polygons helped keep object complexity to a minimum, with a final triangle count of about 200,000 and a scene file size of roughly 6 megabytes.
By doing all the modeling and materials on a slow computer, I was forced to be economical. Using MAX's polygon modeling tools, I was able to precisely control the complexity of every object. Much of the time was spent modeling all the way down at the vertex level. I also like working with polygons because they're fast and you're dealing directly with the actual surface, so the interaction feels more tangible.
When I upgraded to a faster computer for animating and rendering, the relatively light models rendered quickly both in the viewports and with the scanline renderer.
The Tree
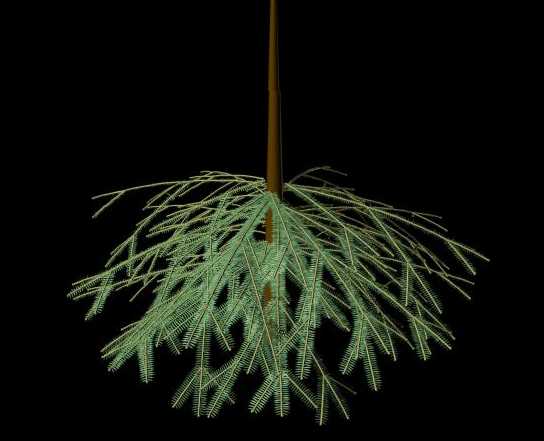
Before I even thought about making a movie, I had already modeled the tree as an exercise. My first approach was to use a single polygon for each needle, duplicating them to form stems and eventually building an entire branch. But by the time I had gotten this far, my 200MHz computer was choking on the model:

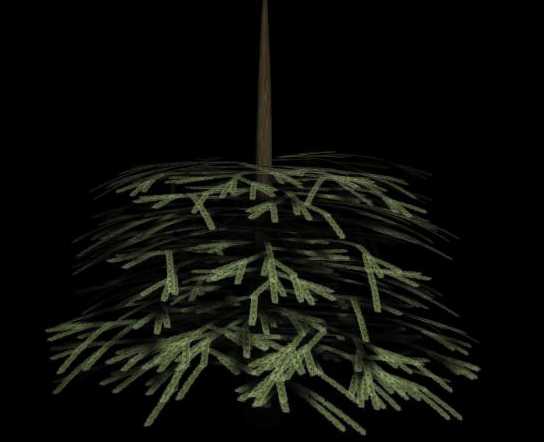
So, it was back to the drawing board. I decided to scan a branch from the Christmas tree in my living room and use the texture for detail. This time, I started building the tree using flat faces for the branches. I built an extruded X shape for each stem and mapped the scanned pine needle texture and opacity map onto both planes. This shape was replicated and repositioned to form an entire branch. Each branch was then copied and rotated around the tree trunk four times to make one complete level of branches. These levels were then copied up the trunk and scaled down to create the conical tree shape, resulting in something that looked like this:

I was getting closer, but the tree looked odd. I made the stems branch more randomly and thickened them to achieve the type of natural complexity seen in real tree branches. With Photoshop, I brushed up the texture to look more organic and colorful. I also placed a semitransparent dark cone just inside the tree so light wouldn't show through from the other side. Finally, I had an acceptable model after about a week of this trial and error process. Some decorations, lights and tinsel completed the look:

Here's what the model looks like in the viewport:

Though it looks dense, the tree is actually relatively light at roughly 70,000 polygons. With my dual P3-600 processors and Elsa Gloria II accelerator, MAX can display it shaded in the viewports at about 10 frames per second.
The Christmas lights are low-detail polygon objects arrayed along a curvy renderable spline. A LensFX video post glow filter with a square waveform controller was used to make them blink. The tinsel was made with a series of criss-crossing X shapes that were extruded along another spline. Each piece was assigned an opacity-mapped texture, much like the tree branches.
The Santa Ornament

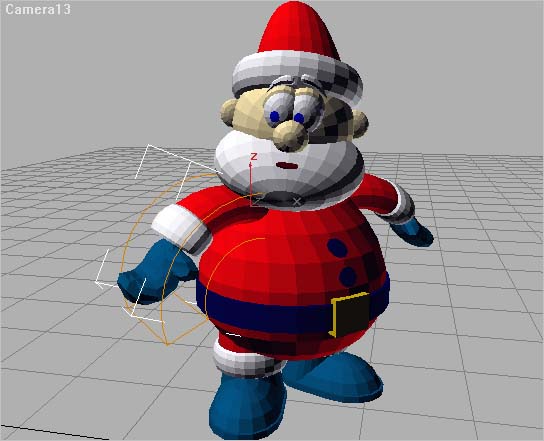
Santa is a segmented character built mostly from geometric primitives like spheres, cylinders, and tori. Simple bend and twist modifiers, along with XYZ position and Euler rotation controllers, were used for all of the character animation. By keeping the character rig simple I was able to animate in real-time.
Materials
In the interest of minimizing rendering time, I kept the materials as simple as possible. Most consisted of a simple tileable texture with a bump map if necessary. The only raytraced material in the scene is the window pane - the milk glass and shiny bulb ornaments were done with transparency and reflection maps.

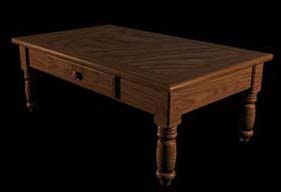
Using a flatbed scanner, I snuck in some pictures of my own family members on the walls. For the newspaper on the coffeetable, I scanned a page from the New York Times that featured an article about my flying school on Long Island. Throughout the materials editing process, I used Photoshop 4 for all texture work.